Split Roof Revit
Split Roof In Revit Paul F Aubin

Split Gable Roof Autodesk Community Revit Products

Solved Roof Doesn T Meet Autodesk Community Revit Products

Solved Extruding A Roof With Different Slopes And Thickness In Both Directions Autodesk Community Revit Products

Roof Panel Layout Agacad

Solved Slope On Roof Created On Mass Face Autodesk Community Revit Products

Auto suggest helps you quickly narrow down your search results by suggesting possible matches as you type.
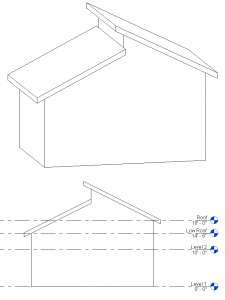
Split roof revit. Split roof in revit. I noticed a post on the revit users forum on linkedin today and i thought i would create a quick reply. The original poster wanted to create a split roof. By specifying the elevation of these points you split the surface into sub regions that can slope independently.
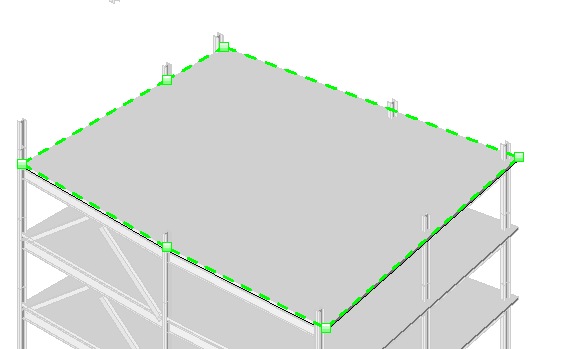
Select a vertex edge face or point anywhere on the structural floor to start the split line. Use join unjoin roof tool. Start points and endpoints can be added anywhere on the face of. In this video you will learn how to use the split tool.
June 1 2010 by edwin prakoso 4 comments. This tool is located in the modify tab. Changing slope angle and using slope arrow. They created a link to some images which you can see in the original post.
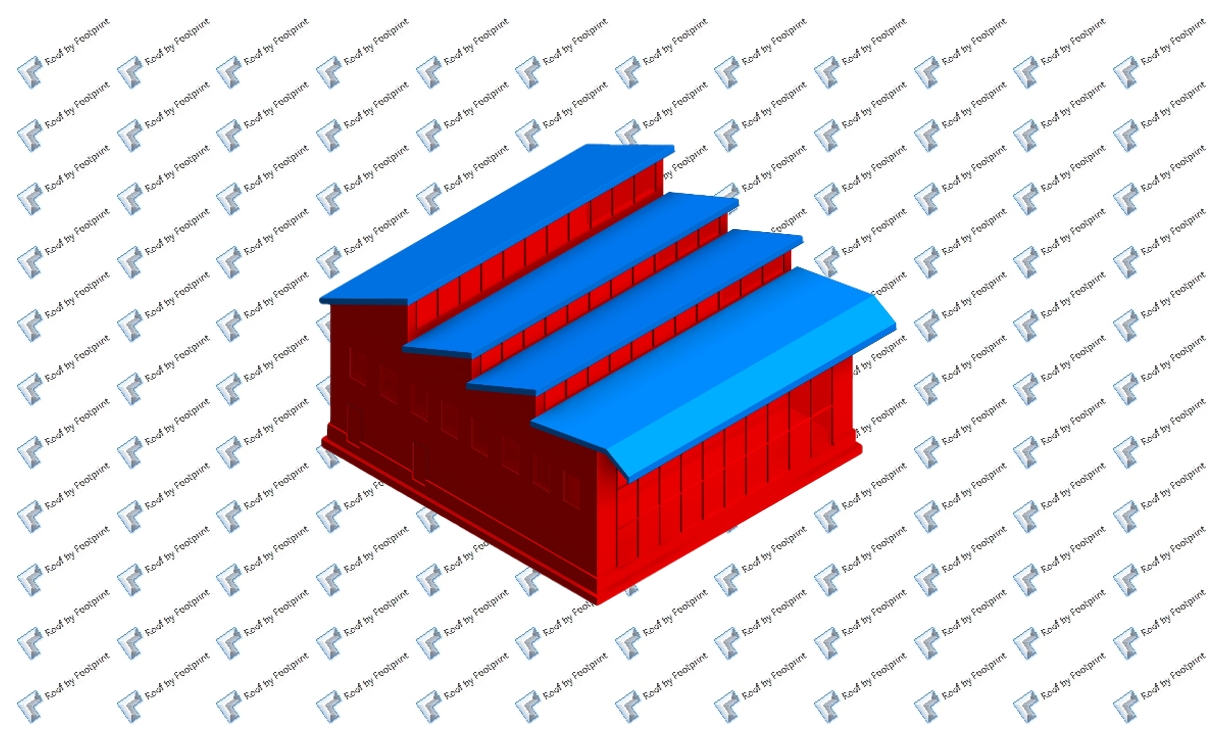
First activate add split line and draw the lines like below. Select the floor to modify. This site the autodesk forums will be down starting on september 1st from 11 59pm 01 00am pdt. 9 join roofs add opening to create dormer.
Click modify floors tabshape editing paneladd split line. Shape edit examples use shape editing tools to slope a constant thickness floor or the top surface of a floor with a variable thickness layer. The split element does. Creating complex roof in revit.
To create a dormer model required walls and additional roof. Easier than the previous method. This shape editing tools will not appear if you define the roof slope. There are a couple of split tools the split element and split with gap tool.
This is pretty easy to control. Use it to extend the dormer roof to the main roof. Then follow these 2 steps. To create this kind of roof start by making two separate roofs.
We apologize for the inconvenience cancel.

Shape Editing For Floors And Roofs Revit Products Autodesk Knowledge Network
Split A Roof Or Structural Floor Revit Products 2018 Autodesk Knowledge Network

10 Common Roof Shapes Modeld In Revit Tutorial Youtube

Revit Roof Basics 04 Intersect By Roof Join Cadclips Youtube

Solved Drawing A Complex Roof In Revit Autodesk Community Revit Products

Solved Gable Roof Edit Question Autodesk Community Revit Products

Solved Revit Keeps Splitting Roof Autodesk Community Revit Products

Revit 2017 Cool Gable Roof Tip Cadclip Youtube
Video Shape Editing Roof And Floor Slabs Revit Products 2019 Autodesk Knowledge Network
Common Types Of Roofs How To Model Them In Autodesk Revit Agacad

9 Tips To Understand Revit Roofs Revit Pure

Joined Roofs How Do I Hide The Lines Autodesk Community Revit Products

Solved Roof Wall Join One Side Roof Misses Autodesk Community Revit Products

Mass Roof Autodesk Community Revit Products

Flat Roofs In Revit Tutorial Youtube

Autodesk Revit Roof Slope Arrows Youtube

Revit Hsbclt For Autodesk Revit Hsb Academy

Back To Basics With Revit Walls Part 2 Embedding Walls Within Walls Synergis
Https Encrypted Tbn0 Gstatic Com Images Q Tbn 3aand9gcrz7tstu Wftubventb5fdlhybs6oarlpcyis6mwtlparxvkjxp Usqp Cau

Cannot Get Dormer Roof To Join Main Roof Autodesk Community Revit Products

Roof Slope Issue To Ridge Line Autodesk Community Revit Products

Revit Tutorials Roofs Youtube
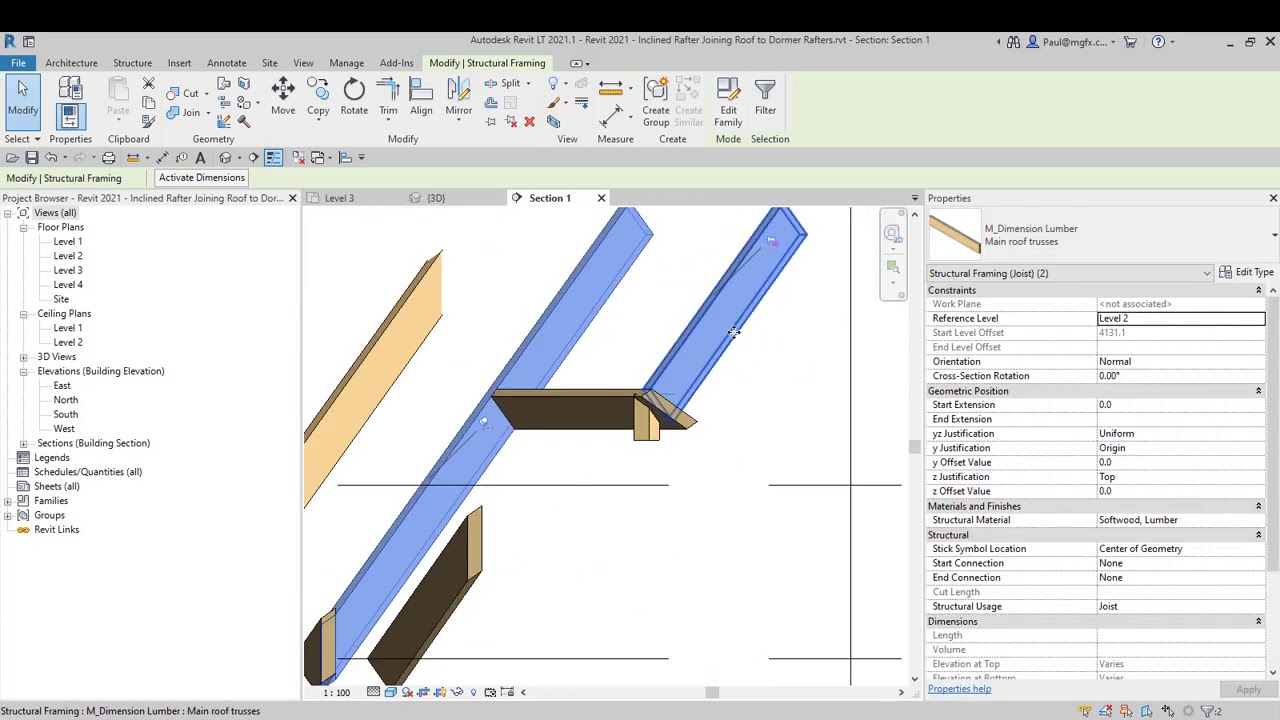
Revit 2021 Inclined Rafter Joining Roof To Dormer Rafters Youtube

Revit Roof Family

Revit Lt Getting Started Creating A Roof Youtube
Split Faces Revit Products 2018 Autodesk Knowledge Network

Revit

Framing Roof Panels Trusses Rafters In Revit Webinar Agacad

Can T Delete Added Points Split Lines In Floor Sub Element Autodesk Community Revit Products
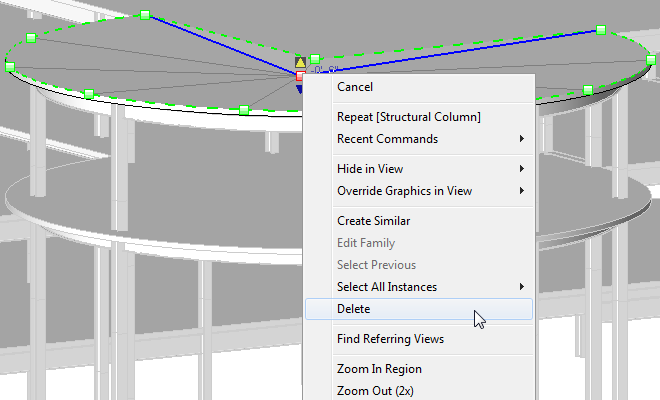
Delete A Shape Modifier From A Roof Or Structural Floor Revit Products 2018 Autodesk Knowledge Network
Inside The Factory Shape Editing

Modify The Shape Of A Roof Or Structural Floor Revit Products Autodesk Knowledge Network

Split Face Boundary Issues Autodesk Community Revit Products

Solved Revit Sloping A Gable Roof Autodesk Community Revit Products

Create A Roof Slope Using Slope Arrows Revit Lt 2019 Autodesk Knowledge Network

Create A Dormer Using Slope Arrows Revit Products 2018 Autodesk Knowledge Network

Autodesk Revit Creating And Dividing Parts Youtube

Free Roofing Revit Download Saxony Country Split Shake Bimsmith Market
Split Archives Mark Calloway

Solved Complex Roof Autodesk Community Revit Products
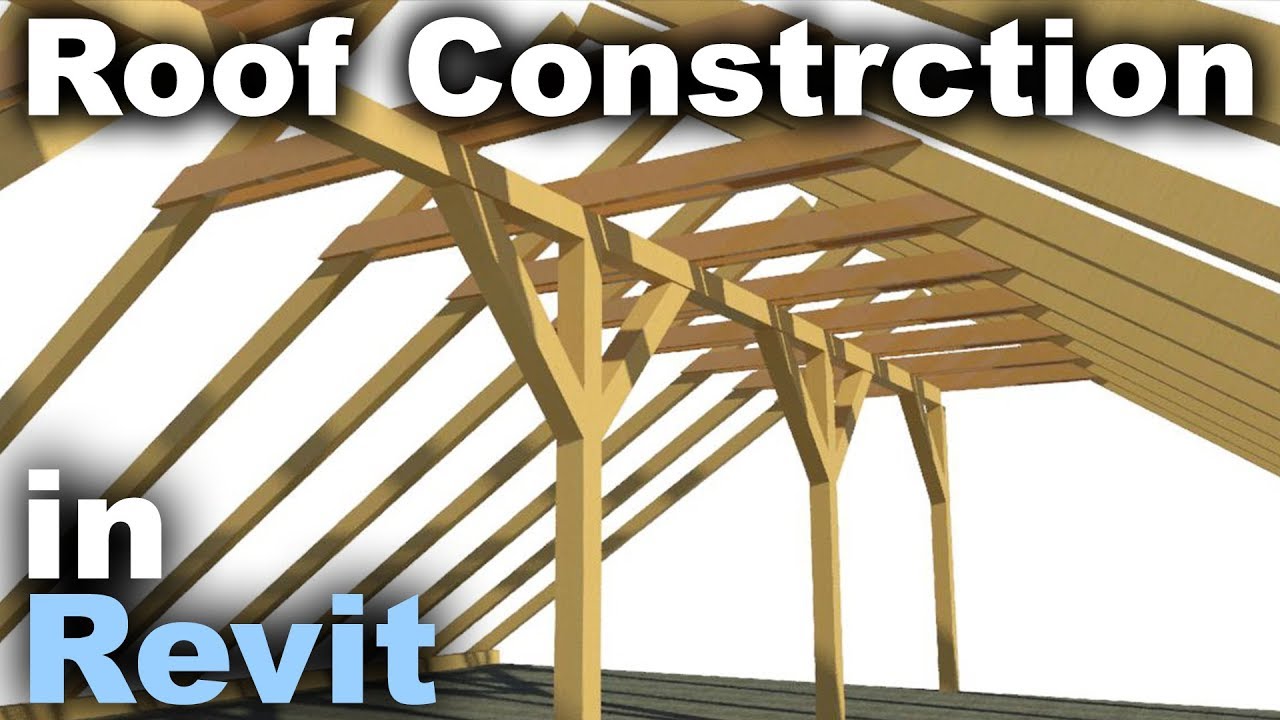
Traditional Roof Construction N Revit Tutorial Youtube
Solved Split Schedule On Multiple Revit Sheets A Methood That Worked And Now Fails Autodesk Community Revit Products

